Manual
Reassembly following Activation
Step 1
Make a hexagon wrench and setting bolt (screw) ready.

Step 2
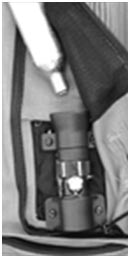
Unscrew the used gas cartridge and remove all remaining gas from the airbag.
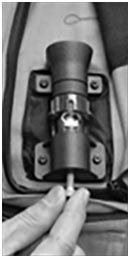
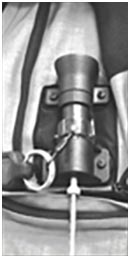
Step 3
Insert a setting bolt into the key box and tighten up by hand. Then tighten further with the hexagon wrench. The hole for the key ball will come down.
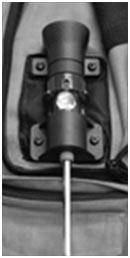
Step 4
Tighten or loosen the hexagon wrench until the hole for the key ball is placed at the center of the hole of the key box.
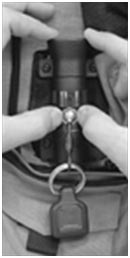
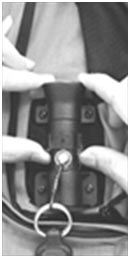
Step 5
Then insert the key ball ring deeply into the hole of the key box. You can press down the ring with your fingernails.
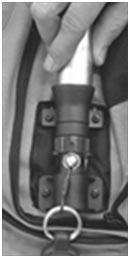
Step 6
Lower the red guard over the hole and remove the setting bolt. If it is impossible to lower the red guard, it means that the key ball does not set properly. Use the setting bolt or your fingernails for further adjustment until the key ball is settled down completely.
Step 7
Lift the red guard after the setting bolt is removed.
Caution! If the red guard remains down over the key ball, it will block the key ball coming out and the airbag will not inflate. The red guard of the key box should always be up.
Step 8
Screw an unused gas cartridge into its designated space.
Caution! If the gas cartridge is not screwed in tightly, the gas may leak through a loose screw an the airbag may not fully inflate.